
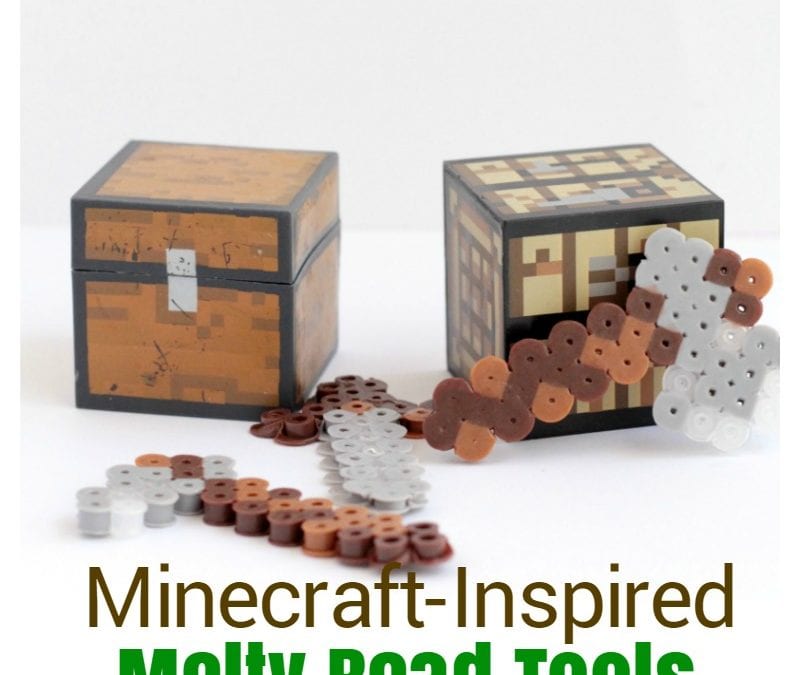
Minecraft-Inspired Melty Bead Tools
If your kids love Minecraft as much as mine do, then they will go nuts for these adorable Minecraft-inspired melty bead tools. There are so many things you can do with the tools once they are completed. Play with them, use them for Barbies, tie a string through one of the holes and make jewelry, or hang them from a key chain or in the window as a decoration! You could even make a Minecraft mobile!
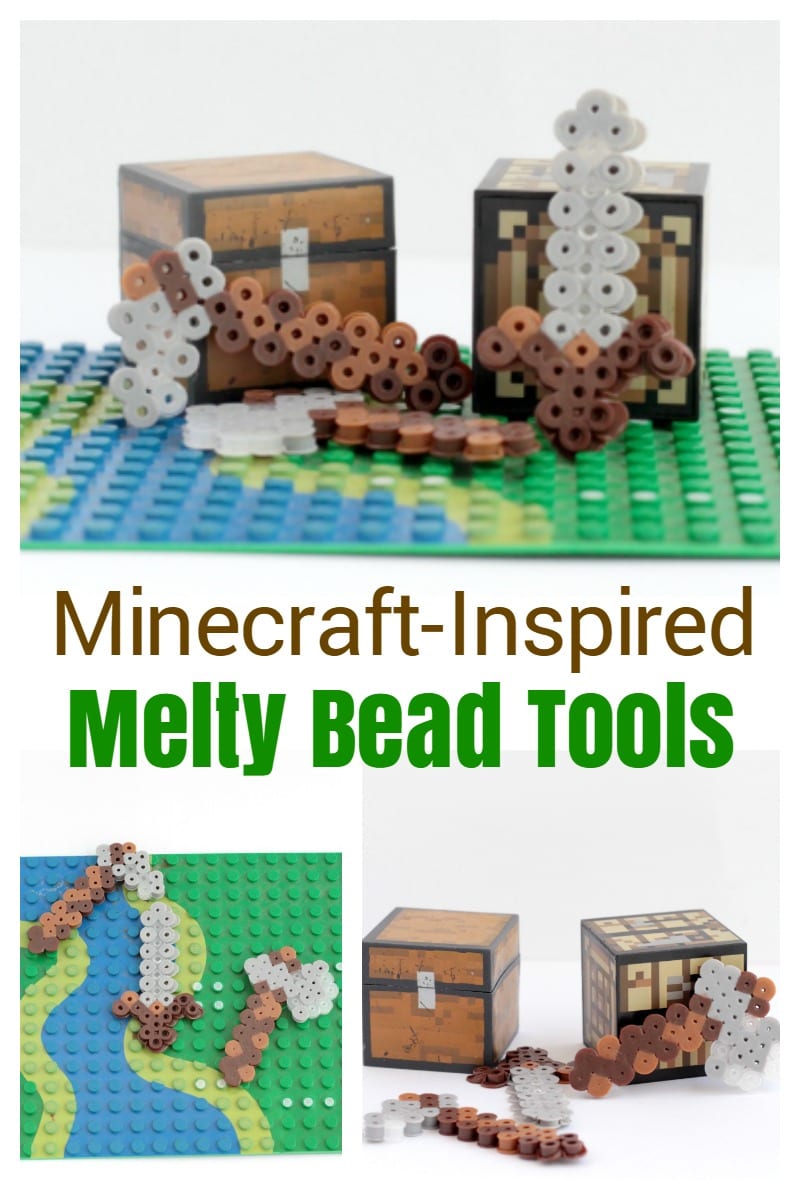
Minecraft-Inspired Melty Bead Tools
Make these melty bead tools with your Minecraft-loving kids!
What you’ll need to make the Minecraft melty bead tools:
- Melty beads
- Square bead mold (other shapes won’t work as well)
- Iron
- Ironing board
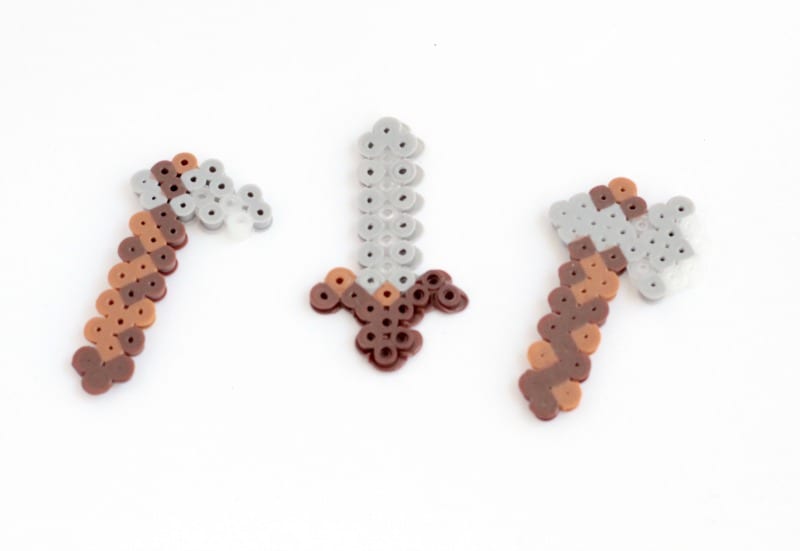
Depending on what color of beads you have, you can make wood tools, stone or iron tools (which look basically the same), or diamond tools. We had a lot of brown and grey beads, so we decided to make iron tools. For color variation in the iron, we used clear beads. We used two different colors of brown to make the handles look more authentic.
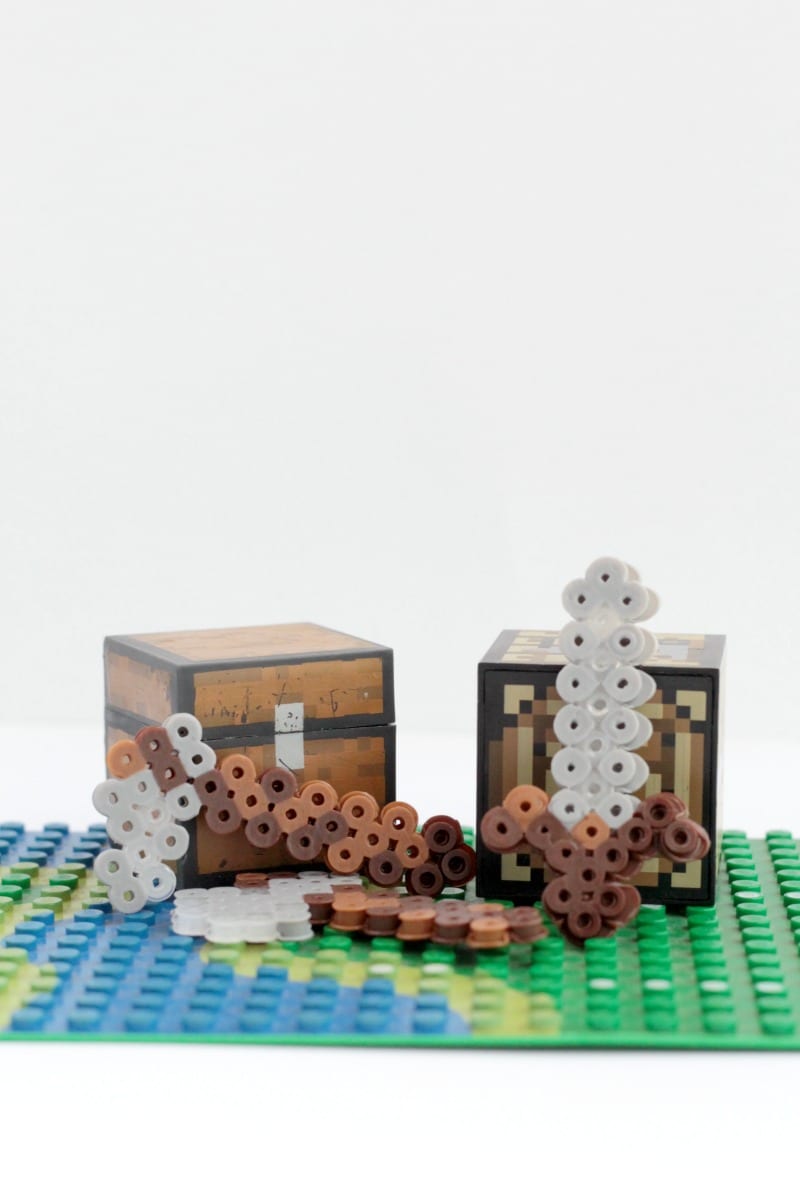
Use pictures of real Minecraft tools as a guide for your designs. We ended up making an axe, a hoe, and a sword.
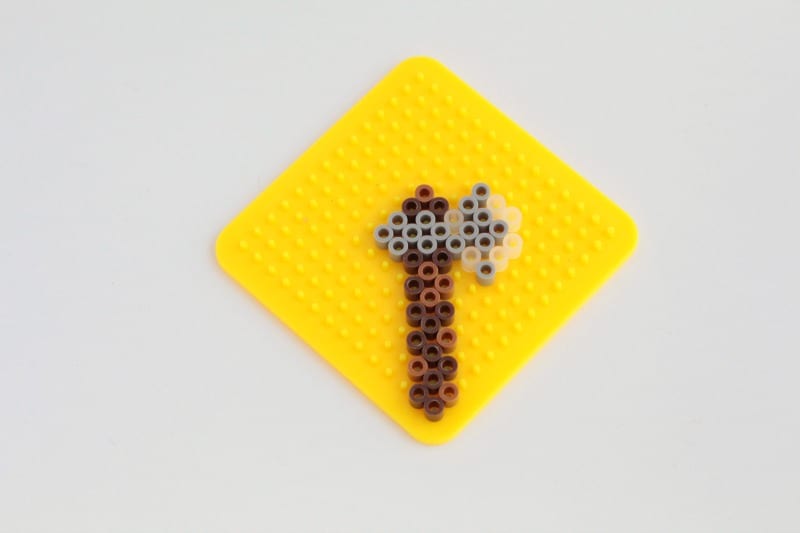
Start every design in one corner of your square. Each bead tray is slightly different, so the instructions aren’t exact, but we found it easiest if we started our designs with the handle and in the corner.
Each of our tools was about six beads high before we added the tool to the handle. All designs are about three beads wide.
Stagger the colors and placement of the beads to make them look more authentic.

Use this picture as a guide when creating your melty bead tools. Your designs probably won’t be exactly the same as ours, but that’s totally fine! We found that we couldn’t make our designs exactly the same as the original Minecraft tools due to restrictions with how our bead board was set up.
After creating your designs, place wax paper over the design and carefully take it to an ironing board. Iron the beads on low heat for about 30 seconds.
Let cool, flip, place the wax paper over the design and iron the back side for an additional 30 seconds.
Add a string and these tools make adorable necklaces or bracelets!


Great idea, thanks! My son is already happily talking about which bead he can change to make them diamond tools! 🙂